
Factory Leak-Diagnosis Guide for B2B Drinkware Buyers
Why Custom Tumbler Lids Leak in Bulk Production: Mold Wear, Lid Design, Seal Size, and Thread Fit
A lid can look correct, close normally, and still leak when four interfaces drift out of agreement: the molded lid, its sealing path, the silicone ring, and the mating threads on the cup or bottle.
Short answer
Bulk tumbler-lid leakage is usually a closure-system mismatch, not proof that the silicone ring alone is defective. In factory production, the main causes often include worn molding tools, a lid structure with an unstable sealing path, incorrect seal-ring dimensions, and a mismatch between the lid thread and the cup or bottle thread.
An approved sample can pass while production units leak if a critical dimension, component revision, mold condition, or assembled combination changes. Buyers should approve and inspect the complete lid–seal–cup system, define a repeatable leak-test method, and use controlled part-swapping to find the actual source before ordering a blanket rework.
A leak is a closure-system failure, not a one-part diagnosis
A custom tumbler closes through a chain of interfaces. The cup mouth supports the lid; the lid positions and loads the seal; the silicone ring deforms against the intended surface; and the thread or retention feature brings the assembly to its designed stop. If one interface changes, another component may no longer reach the position or contact needed to control liquid.
Diameter, sealing land, thread, roundness, and contact surface.
Groove, wall, stop, thread, and the path that transfers closing load.
Inside diameter, outside diameter, cross-section, fit, and installed position.
Engagement, seating, orientation, component revision, and test result.
This distinction matters commercially. Replacing every gasket will not correct a lid groove that has drifted, and tightening harder will not correct incompatible mating threads. Diagnose the system before deciding whether to sort, replace a component, repair tooling, or remake the affected production.
This article addresses factory-side closure fit and control. Leakage from a drinking spout, slider, straw interface, impact damage, contamination, or incorrect consumer assembly may require a separate diagnosis.
For a broader view of bottle and tumbler leakage, see Bluegreen's insulated water bottle leak guide.
Four factory-side causes that repeatedly deserve investigation
Bluegreen's factory experience points to four recurring areas. They can occur separately, but production leakage often appears when small changes combine across more than one part.
Wear or damage can change a critical molded dimension or surface enough to reduce fit consistency.
The geometry may provide a narrow or unstable sealing window even when the lid looks acceptable.
The ring's diameter and cross-section must suit the groove and the mating surface as an assembly.
The lid and cup threads must engage, advance, and stop in the intended relationship.
ISO 20457 provides a plastics-specific framework for geometrical and dimensional tolerances because molded plastic parts are affected by material behavior, shrinkage, part and tool design, warpage, and processing conditions. It also emphasizes defining functionally required tolerances in product data rather than relying on a general visual judgment.
How mold wear can turn a passed lid into an unstable production fit
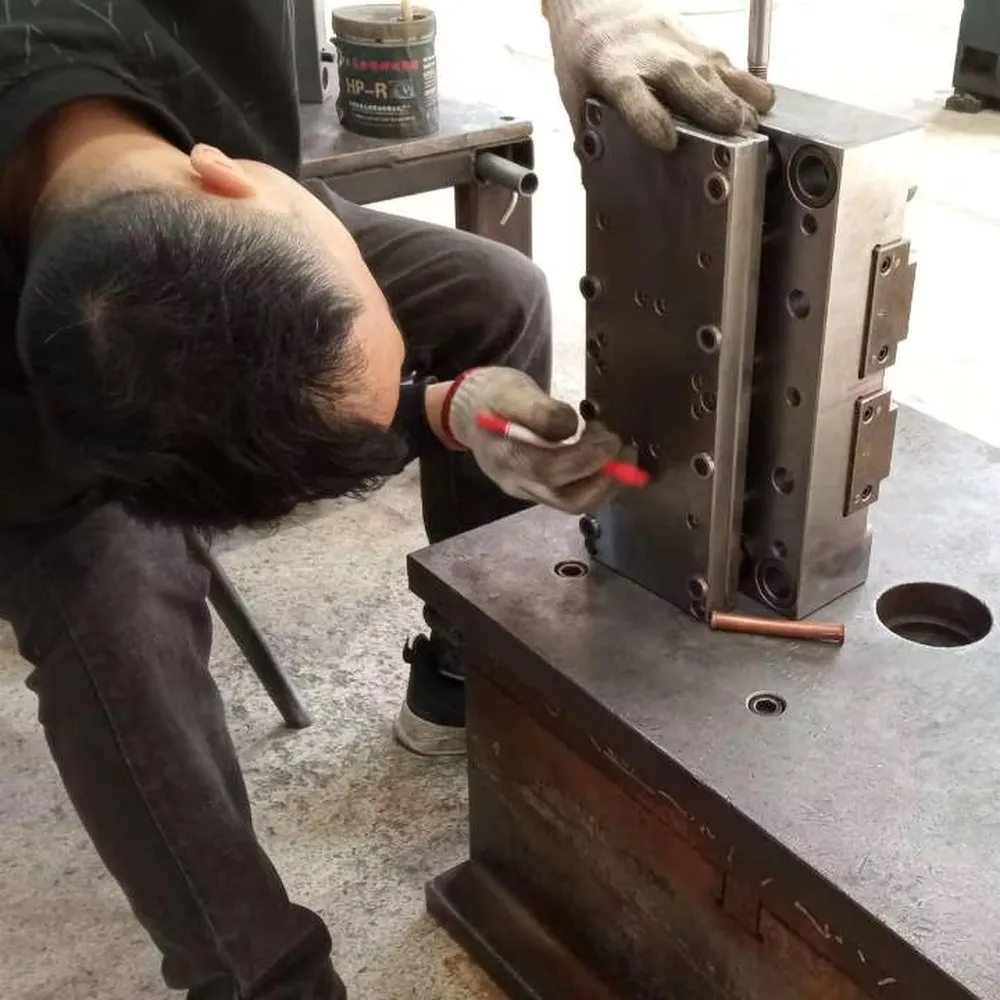
A molded lid contains functional features that are easy to overlook: thread flanks, starts and stops; gasket grooves; locating ribs; sealing lands; snap features; and local wall sections that control stiffness. Wear at a critical tool surface can shift the molded result even when colour and appearance remain acceptable.
Do not infer mold wear from leakage alone. First compare the suspect production lot against the approved part and drawing, then review the tool identity, maintenance history, cavity, material, process record, and measured critical dimensions. A dimensional difference can also come from molding conditions, shrinkage, warpage, material, or part handling.
The control point is therefore not simply “use a new mold.” It is to identify which dimension is functionally connected to sealing, define its acceptance method, and monitor it by lot or cavity where the risk justifies the effort.
A visually approved lid is not automatically a dimensionally approved closure.Bluegreen factory-control principle
Why the lid's own structure can make sealing inconsistent
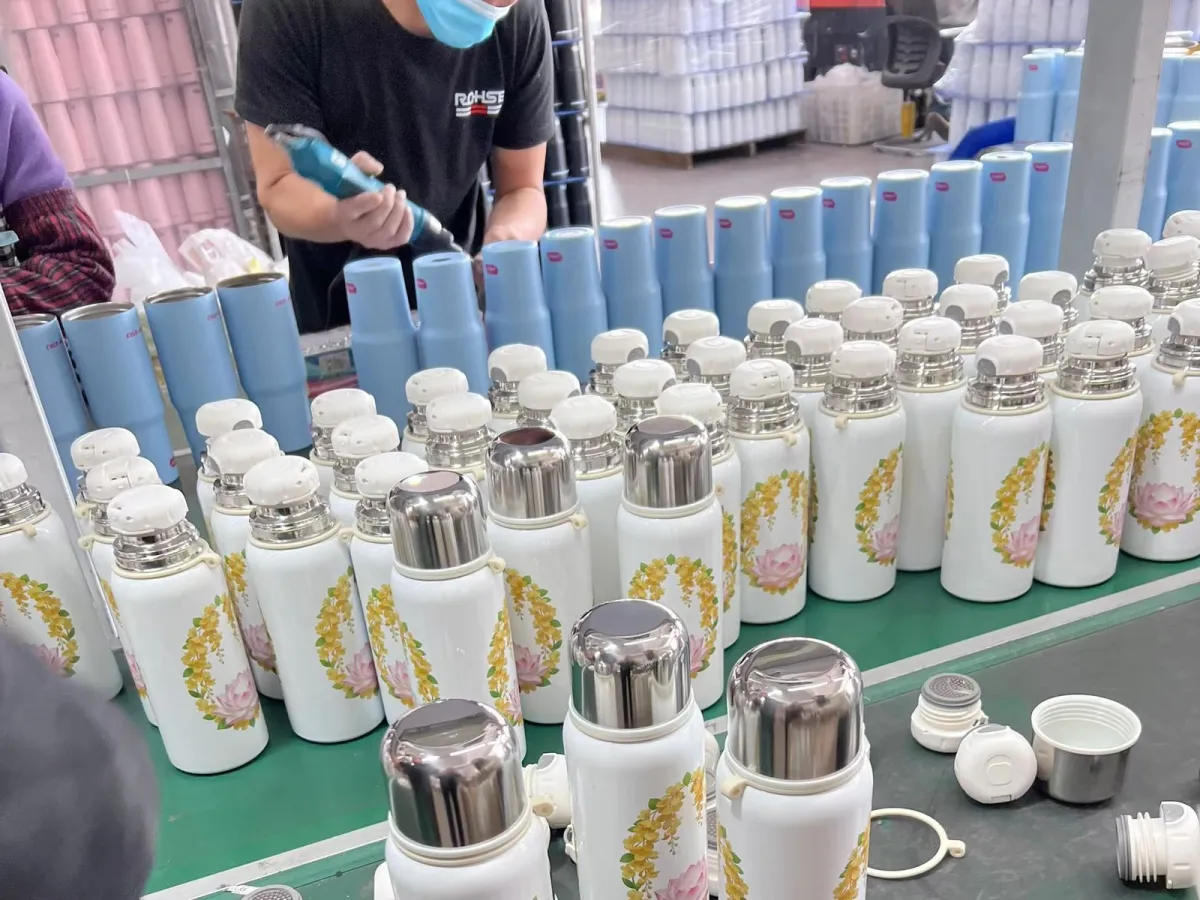
A lid design determines where the ring sits, which surface it contacts, how closing force reaches it, and what stops further movement. If those relationships create only a narrow working window, normal production variation can separate passing and leaking units.
A threaded construction should be evaluated as assembled parts. Check that the seal remains correctly located, that plastic features are not visibly distorted or cracked, and that the closure reaches its intended seated position without cross-threading or an abnormal feel. For complex drinking lids, isolate the main cup-mouth seal from spout, straw, slider, or vent paths so one failure is not misdiagnosed as another.
Before changing the lid, define the intended sealing path in the product drawing or specification. Otherwise a supplier may improve one symptom while changing opening force, interchangeability, appearance, or assembly behavior.
Seal-ring dimensions: why “a gasket is installed” is not enough
A silicone sealing ring must match both its housing and the opposing surface. Inside diameter, outside diameter, cross-section, and installed position influence whether it stays in place and makes the intended contact. A ring that is too small, too large, too thin, or too thick for the specific design can alter seating or produce inconsistent results.
ISO 3601-2 describes an O-ring housing as the groove or cavity together with the mating surface that confines the ring. Drinkware seals are not automatically designed to that fluid-power standard, but the system principle is useful: the ring and the surrounding hardware dimensions must be considered together.
Do not copy a universal compression percentage into a purchase order. Instead, preserve the approved component drawing and material specification; define the measurement method and tolerances that matter to this lid; control the supplier and revision; and test the actual production ring inside the actual production lid on the actual production cup.
- Record the seal drawing or approved dimensions and revision.
- Confirm the ring remains correctly seated after assembly and normal handling.
- Prevent unapproved mixing of visually similar rings between models.
- Retain matched production samples from the lid, ring, and cup lots.
- If the design requires a material or food-contact record, link it to the same component revision.
Internal and external threads: the issue is matching, not which type is better
Threaded drinkware relies on two mating geometries. In a common arrangement, the lid carries an internal thread and the bottle neck an external thread; other products use different closure arrangements. Neither label alone predicts leak performance.
The factory should verify the mating pair: nominal diameters, pitch, profile, start position, engagement, travel, stopping relationship, and how the final seated position loads the seal. These are product-specific checks, not universal specifications for every tumbler.
| Observation | What to investigate | Do not assume |
|---|---|---|
| Closure stops too early | Thread interference, wrong revision, contamination, deformation, or geometry mismatch | That more torque will create the correct seal |
| Closure continues beyond the approved position | Stop geometry, thread dimensions, wear, or seal stack height | That tighter always means safer |
| Some lids fit and others do not | Lot, cavity, mold, supplier, material, or revision differences | That the cup body is automatically the cause |
| A lid fits another model | Controlled cross-match can help isolate parts | That visual interchangeability proves approved interchangeability |
If multiple lid and cup models look similar, control part numbers and line clearance carefully. A correct lid assembled to the wrong cup version can produce a convincing but invalid diagnosis.
Why an approved sample can pass while the bulk order leaks
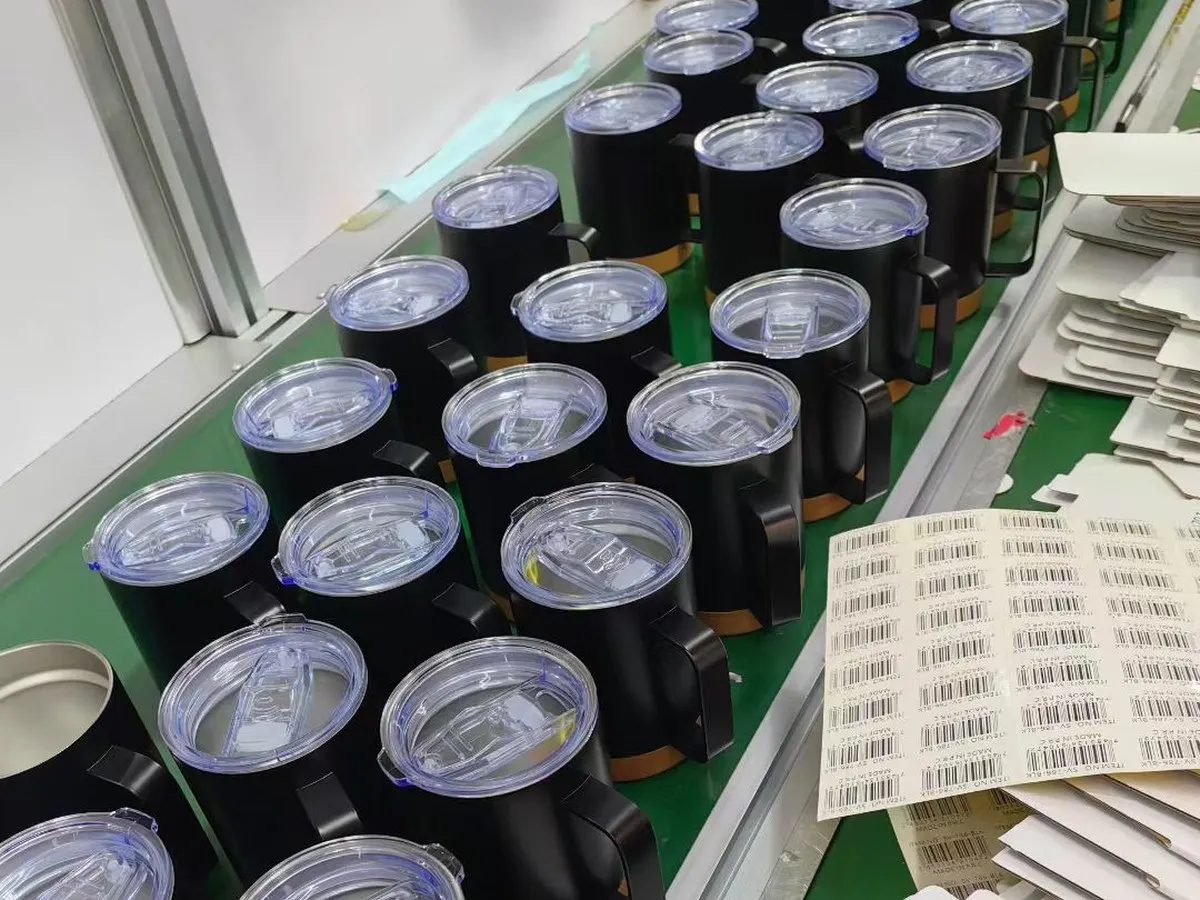
A sample proves that one identified combination passed one agreed check at one time. It does not automatically lock the mold condition, cavity, component supplier, seal dimensions, thread revision, molding conditions, or assembly combination used later.
Connect the physical master sample to controlled records: cup model and revision; lid and seal part numbers; tool or mold identification when relevant; material and supplier; approved drawings; test method; and acceptance result. Then require change control when a functionally relevant input changes.
Use Bluegreen's approved tumbler sample change-control guide to decide what must be revalidated before bulk production.
Diagnose the leaking interface before choosing corrective action
Start by preserving failed and passed samples with their component and lot identities. Reproduce the agreed leak result, then change one controlled component at a time. Randomly swapping parts without records can hide the pattern.
Confirm the symptom
Use the agreed fill, closure, orientation, duration, temperature, and observation method. Record where liquid appears.
Isolate the interface
Compare approved and production cup, lid, and ring combinations while changing one identified part at a time.
Verify the cause
Measure relevant dimensions, review tooling and process records, correct the identified input, and retest matched assemblies.
A useful cross-match may reveal that one production lid leaks on both the approved and production cup, while the approved lid passes on both. That pattern directs investigation toward the lid or its seal. It is evidence for the next check, not final proof by itself.
Sorting, component replacement, tool maintenance, process correction, or remake may each be appropriate in a different case. Choose only after the affected population and verified cause are understood.
What a B2B buyer should put into the RFQ and quality plan
“Leak-proof lid” is not a complete acceptance specification. Define the product state and test method so the factory and buyer evaluate the same behavior.
Inspection before shipping should include the agreed closure condition and sampling plan, not an improvised squeeze or inversion check. Align it with Bluegreen's custom drinkware quality-control guide.
MOQ is model-specific. Typical production lead time is approximately 7–35 days depending on product, quantity, customization, tooling or validation needs, and the confirmed production plan. Leakage investigation or component changes can affect this range and should be reviewed before promising a shipment date.
How Bluegreen reviews a custom lid before bulk approval
Bluegreen manufactures stainless steel, plastic, and titanium drinkware through its own production processes. For a closure review, the team starts with the intended product and test condition, then checks the cup, lid, seal, and thread system as identified components.
Send the cup and lid model, intended beverage and use orientation, target market, seal and thread requirements, artwork or packaging constraints that affect assembly, quantity, required test method, approved reference sample, and any failed samples or videos. Existing products can be compared against controlled known-good components where appropriate.
Use Bluegreen's custom drinkware development process to review a lid design, sample plan, tooling change, or bulk-quality requirement before the purchase order is finalized.
Frequently asked questions
Why do some custom tumbler lids leak only in bulk production?
The approved sample and bulk units may not share the same mold condition, cavity, component revision, seal dimensions, thread fit, molding conditions, or assembly combination. Identify the cup, lid, and seal lots and test controlled combinations before selecting a corrective action.
Is the silicone sealing ring usually the cause of a leaking lid?
It can be a cause, but it is not the only one. The ring must work with its groove, the lid structure, the mating cup surface, and the closure position. Replacing the ring alone will not fix an incompatible thread or a dimensionally unstable lid.
How does mold wear cause a tumbler lid to leak?
Wear at a functionally critical tool surface can change a molded feature involved in thread fit, seal location, seating, or stiffness. Leakage alone does not prove wear; compare dimensions and review the mold, cavity, material, and process records.
Are internal threads more leak-proof than external threads?
Not by definition. Leak performance depends on how the mating thread pair advances and stops, how the seal is positioned and loaded, and whether the lid and cup remain within their product-specific tolerances.
What should a tumbler lid leak test specify?
Define the product state, fill medium and level, closure method, orientation, duration, temperature, preconditioning, sample plan, observation point, and pass/fail rule. Use the same agreed method for samples and bulk inspection.
Can a passed lid sample be used with another tumbler model?
Do not assume interchangeability from appearance or apparent fit. The cup mouth, thread, stop, seal groove, and assembled position must be approved as a matched system for the intended model.
References and further reading
- ISO 20457:2026 — Plastics moulded parts — Tolerances and acceptance conditions — Official scope and guidance on geometrical and dimensional tolerances for molded plastic parts.
- ISO 3601-2:2025 — Fluid power systems — O-rings — Part 2: Housing dimensions for general applications — Official definition and dimensional framework for O-ring housings; cited for the seal-and-hardware system principle, not as a drinkware design mandate.
- Parker O-Ring Handbook, ORD 5700 — Primary engineering reference on O-ring dimensions, grooves, mating hardware, installation, and failure analysis.
Send the complete lid–seal–cup combination for review
Share the cup and lid model, component revisions, seal dimensions, thread or drawing details, intended use, quantity, target market, approved sample, and agreed leak-test method. Bluegreen can review the closure as an assembled system before bulk production.
This guide provides general B2B sourcing information, not legal or laboratory advice. Confirm market-specific requirements, test methods, and acceptance criteria with qualified professionals before production.


 English
 German
 French
 Russian
 Spanish
 Japanese
 Korean
 Portuguese
 Ukrainian
 Arabic
 Italian

Leave A Comment