
Leak Prevention Guide for B2B Buyers
Why Insulated Water Bottles Leak: 7 Manufacturing Causes Buyers Should Check Before Bulk Production
A bottle can look perfect and still leak. Control the complete sealing system by component, tolerance, assembly condition, test method, and approved sample.
Short answer
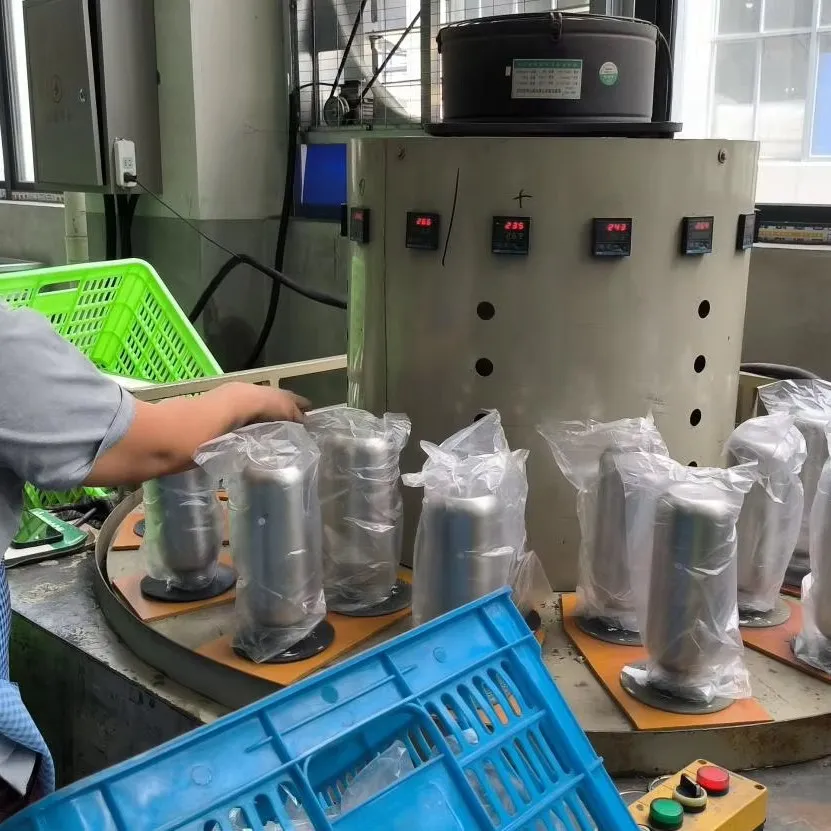
Insulated water bottles usually leak because the closure system does not maintain continuous compression around every sealing path. Common causes include a mismatched lid, a twisted or undersized gasket, rim variation, vent or straw geometry, assembly contamination, closure damage, and an unrealistic leak test.
Treat “leakproof” as a defined product requirement, not a generic supplier promise. State the exact lid and gasket, fill level, temperature, orientation, motion, duration, sample plan, and acceptance rule before bulk production.
Define what “leakproof” means for this bottle
A flip-straw sports lid, a threaded screw cap, and a slider tumbler lid do not have the same sealing architecture. Some closures resist splashes while upright; others are intended for bag transport in any orientation. A claim cannot be evaluated until its use condition is written down.
| Variable | What to define | Why it changes the result |
|---|---|---|
| Closure | Exact lid, straw, vent, plug, and gasket revision | A similar-looking lid can use a different sealing path. |
| Use | Upright, tilted, inverted, shaken, or carried in a bag | Pressure and liquid contact change with motion and orientation. |
| Liquid | Fill volume, temperature, carbonation, and permitted beverages | Heat and pressure can change gasket behavior. |
| Cycle | Closing action, dwell time, motion, repetitions, and inspection point | A quick hand check is not a repeatable method. |
| Acceptance | Defect class, sample size, and permitted failures | “No obvious leak” is too subjective for lot release. |
Seven manufacturing causes of bottle leaks
1. The lid and bottle neck are not a controlled pair
Thread pitch, thread start, neck diameter, stop position, and sealing-land height must work together. A lid may fit by hand yet bottom out before the gasket reaches the intended compression. Approve the closure on the actual bottle model and revision, not on a “similar” sample.
2. The gasket is wrong, twisted, stretched, or missing
Gasket cross-section, hardness, diameter, material, and installation direction affect sealing. Stretching a ring during assembly can leave uneven compression; dust or a rolled edge can create a local channel. The bill of materials should identify the gasket and the work instruction should define its installation.
3. Rim or sealing-land variation reduces compression
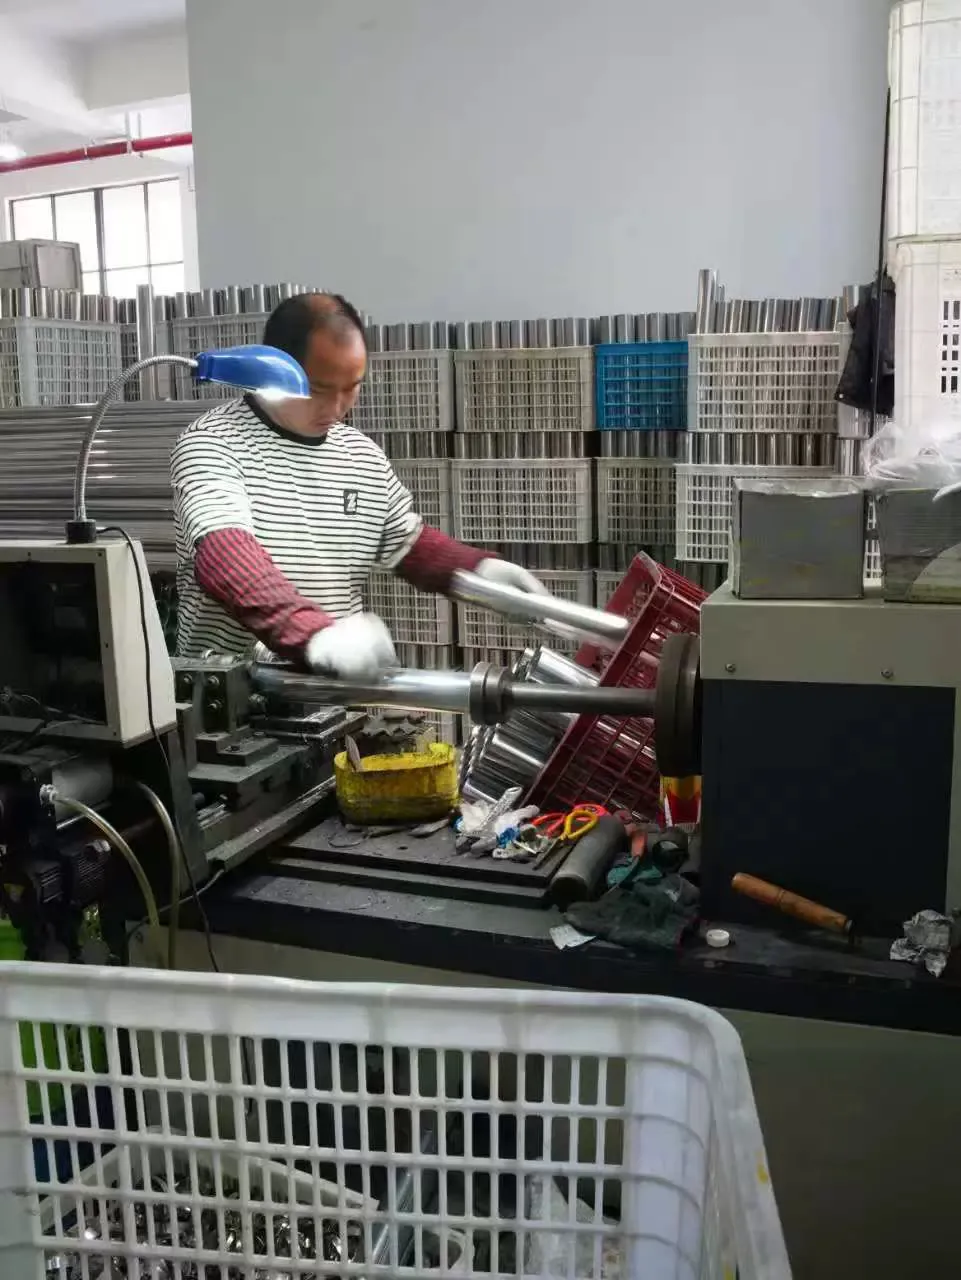
An out-of-round neck, uneven rim, burr, dent, weld distortion, or uncontrolled height can prevent continuous contact. Set measurable dimensions and surface requirements at the sealing interface. A cosmetic limit is not a functional sealing tolerance.
4. A straw, vent, slider, or plug creates a second leak path
A bottle can seal at the cap gasket and still leak through a vent hole, straw valve, rotating spout, slider track, or silicone plug. Each movable interface needs its own assembly check and use-condition test.
5. Debris or lubricant reaches the seal
Metal particles, coating overspray, fibers, packaging debris, or excess lubricant can interrupt contact or create odor complaints. Cleaning, protected storage, and a visual check immediately before closure assembly reduce the risk.
6. The closure is damaged after an earlier check
A lid may be warped, scratched, cross-threaded, or compressed later in assembly and packing. Functional verification should include the configuration that will actually ship.
7. The test is too easy or does not match the marketed claim
Room-temperature water, an upright bottle, and a few seconds of observation will miss many field failures. The method should represent the claim and foreseeable use without inventing conditions the closure was never designed to survive.
What to approve before bulk production
Freeze a golden sample only after the product structure is settled. Record the bottle body, lid version, gasket, straw or plug, accessory count, finish, and packaging. A cosmetic sample fitted with an unapproved lid is not a functional reference.
Model, capacity, neck, lid revision, gasket, and optional straw.
Critical rim, sealing land, closure, and gasket measurements.
Fill, temperature, orientation, motion, duration, cycles, and outcome.
Sample ID, drawing revision, component lot, and production batch.
Bluegreen’s customized drinkware service can review the closure, finish, logo, packaging, quantity, and verification scope together. MOQ is model-specific, and the typical 7–35 day production range must be confirmed against the final configuration and quantity.
Build leak checks into production and shipment inspection
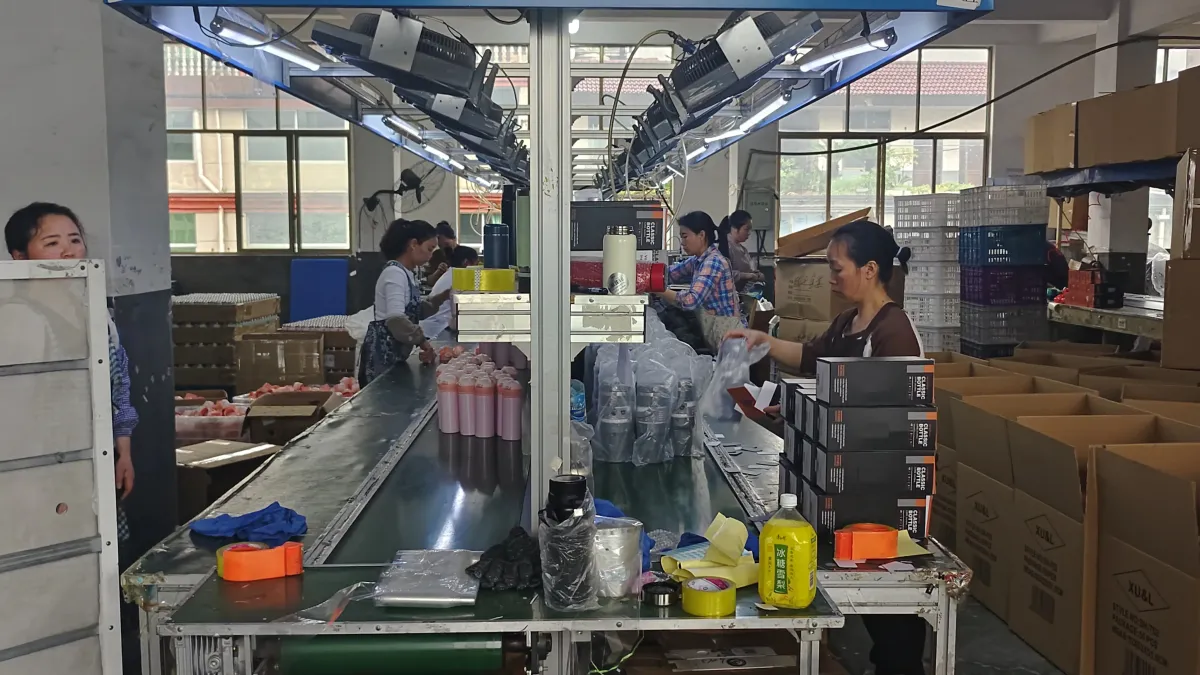
Use prevention and detection at several stages. Incoming checks can catch gasket or lid variation; in-process measurement can control the rim; assembly checks can confirm gasket presence; finished-product testing can assess the shipped configuration.
- Classify leakage before inspection. State whether it is critical or major for the agreed claim and what remedy follows a failure.
- Separate 100% screening from lot sampling. A factory line check and a buyer’s final random inspection are different controls; define both.
- Record the failure location. Use cap gasket, vent, straw, slider, thread, crack, or damage instead of the unhelpful code “leak.”
- Retest after packaging changes. A new insert or compression pattern can deform the closure.
- Keep retained samples. Preserve agreed samples from production and shipment lots for complaint comparison.
Align the closure checks with Bluegreen’s drinkware quality-control overview and the guide to quality control before shipping custom drinkware. AQL-indexed sampling can organize lot acceptance, but it does not replace the functional method.
A useful purchase order does not say only “100% leakproof.” It identifies the closure, test condition, sample plan, acceptance rule, and response to a failure.
Leak-prevention RFQ checklist
| Field | Buyer instruction |
|---|---|
| Product | Model, capacity, body revision, neck dimensions, lid revision, and accessories |
| Claim | Leakproof, spill-resistant, or splash-resistant; permitted orientations and uses |
| Seal | Gasket material, size, approved reference, color, and installation direction |
| Test | Liquid, fill, temperature, closing action, orientation, motion, dwell, and cycles |
| Inspection | Production screening, final sampling, defect class, and acceptance rule |
| Packaging | Closure position, spare parts, inserts, and compression protection |
Send these details with the target market, quantity, logo, finish, packaging, and delivery target through Bluegreen’s custom drinkware project form. This produces a more comparable quotation than an undefined request for a “leakproof bottle.”
Frequently asked questions
Why does a new insulated water bottle leak from the lid?
The usual causes are inadequate gasket compression, a twisted or missing seal, mismatched lid and neck dimensions, debris on the sealing surface, or leakage through a straw, vent, slider, or plug interface.
Is every tumbler lid supposed to be leakproof?
No. Some lids are designed to reduce splashes while upright, not to remain dry when inverted or carried in a bag. The quotation, listing, packaging, and test should use the same intended claim.
Should every bottle be leak-tested?
That depends on the claim, risk, process capability, and control plan. A supplier may use defined 100% screening while the buyer also uses lot sampling for final acceptance. Both methods and records should be agreed before production.
Can a golden sample prevent bottle leaks?
It helps only when it identifies the exact body, lid, gasket, straw or plug, critical dimensions, and functional test. A cosmetic sample without controlled closure components is not enough.
What should happen when one sampled bottle leaks?
Apply the agreed defect classification and acceptance rule, isolate the lot, identify the leak path, expand inspection when required, document corrective action, and confirm the remedy before release.
References and further reading
- ISO 2859-1:2026 — Sampling procedures for inspection by attributes — Official ISO overview of AQL-indexed lot sampling.
Define the sealing system before requesting a price
Send the bottle model, lid and gasket configuration, intended use, claim, quantity, finish, packaging, test condition, and delivery target for a model-specific review.
This guide provides general B2B sourcing information, not legal or laboratory advice. Confirm market-specific requirements, test methods, and acceptance criteria with qualified professionals before production.


 English
 German
 French
 Russian
 Spanish
 Japanese
 Korean
 Portuguese
 Ukrainian
 Arabic
 Italian

Leave A Comment